T-Style Guitar, the Project That Won't Go Away

The start of my journey was influenced in a big way by this T-style guitar kit. The body and the components all seemed pretty nice, especially for the price, but the neck just felt wrong. That’s when and why I decided I could do better.

Now it’s time to finish this puppy and see what kind of guitar I’ve got…

It was time to align and bolt on the neck. First time was a little hairy, but went really well. I used a laser level to check centerline (thanks again, ProjectElectricGuitar.com!), drilled into my ‘Strat’ neck, and had at it! I decided then to just go ahead and drill all  the other holes (control plate, strap buttons, pickguard, bridge, socket) to test fit everything. (There is peeling protective plastic covering the pickguard.) Telecaster fans might note that the control plate is reversed, so that the volume knob is in front and the switch in back.

Sometime later… This is after three coats of nitrocellulose sanding sealer.

… and this is after four-five coats of gloss nitrocellulose lacquer.

Compare these images to those at the top of this page …

Sometimes you’re just too busy and focused to remember to take a photo or two, so here… I’m done!

Tobacco burst out of an aerosol can. I am super happy about how it turned out, all things considered.

OMG It’s Done!!

First Photos of the finished Telecaster, courtesy of Eddy. Surprised how red the ‘tobacco’ is…  but I like it al lot!

What’s Good:

What’s Meh:

Wabi Sabi:

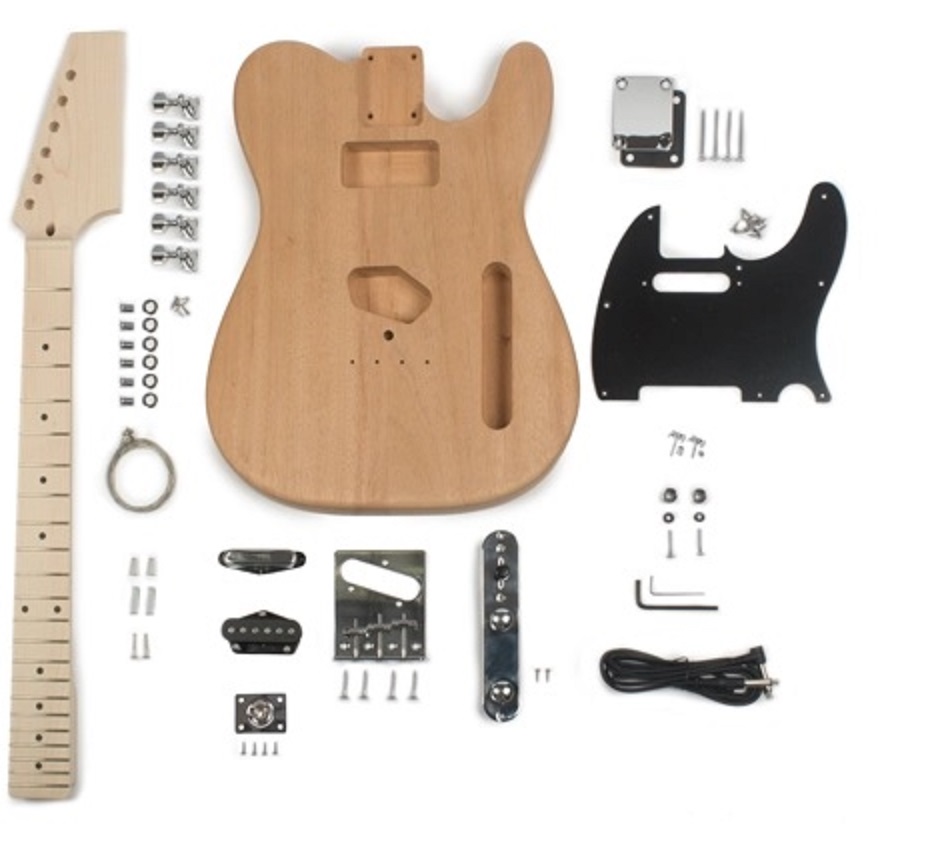
Working on this body, I learned the power of hand-working the wood. What started out as a dull feeling block of wood became alive and imbued with spirit. I have carved both a belly bevel on the back and an arm bevel on the front, filled the surface with contrasting grain filler, and sanded and sanded, and sanded, and sanded…

Same thing with the neck. Started out as a dead plank. Now it feels ALIVE.